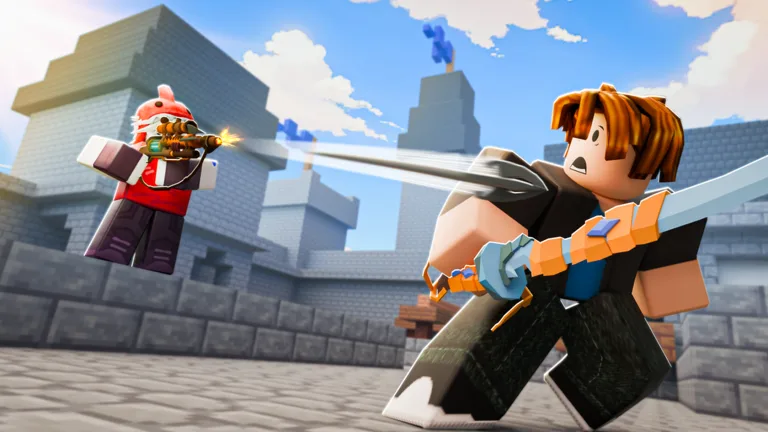
How to Create Professional Roblox BedWars Thumbnails: A Step-by-Step Guide
Learn how to capture high-quality BedWars gameplay screenshots and edit them into professional thumbnails using free tools like Photopea.
Published: BedWars Wiki Editorial Team
Video Guide
How to Make Roblox *BEDWARS* Thumbnails That Look *PROFESSIONAL*Table of Contents
Capturing High-Quality Gameplay Screenshots
To create a standout thumbnail for BedWars, the first step is capturing clean, high-resolution source material. According to player experience, starting a custom match is the best method because it allows you to control the environment without interference.
Set the Stage: Choose a map that complements your kit or theme. Once in the match, use the /fly command to position yourself precisely.
Clean the View: Press F1 to hide your name tag and the game UI.
Master the Camera: Use Shift + P to enter free camera mode. This allows you to move the camera independently of your character, helping you find the perfect cinematic angle.
Max Your Graphics: Always turn your graphics settings to the maximum level before taking the screenshot to ensure the image quality is crisp.
Editing Your Thumbnail in Photopea
Once you have your screenshot, you can use browser-based tools like Photopea to edit your thumbnail. You do not need expensive software to achieve a professional look.
Remove the Background: Export your screenshot and use an online background remover tool. This allows you to isolate your character or kit, giving you more creative control over the composition.
Layering: Import your background and the isolated character into your project. Ensure the character layer is on top.
Adding Depth: Right-click your character layer to access "Blending Options." Adding a subtle stroke (set to 6) and a drop shadow helps separate the character from the background, making it pop.
Enhancing Visuals: Use the "Camera Raw" filter to boost saturation, vibrance, and contrast. This makes the colors more vivid and eye-catching for potential viewers.
Adding Text and Finishing Touches
Text is a powerful tool to draw clicks, but it should be used sparingly.
Typography: Choose bold, readable fonts. Many creators import custom fonts, such as "Plumpful," to give their thumbnails a unique identity.
Layer Effects: Apply similar blending options—like strokes, inner shadows, and gradient overlays—to your text to ensure it remains legible against the background.
Visual Cues: Using elements like arrows pointing toward a specific item (like a powerful weapon or kit) helps direct the viewer's eye to the most important part of the thumbnail.
Shadows: For a polished look, create a custom shadow under your character. You can do this by drawing a circle, applying a box blur, and adjusting the opacity to about 60%.
Roblox Thumbnail Best Practices
When uploading your final product to the Roblox Creator Dashboard, keep these platform-specific guidelines in mind:
Aspect Ratio: Always aim for a 16:9 aspect ratio at 1920x1080 pixels. This ensures your thumbnail looks professional and high-resolution on all device types.
Authenticity: Roblox requires thumbnails to be authentic representations of your game. Avoid misleading edits that do not reflect actual in-game features, as these may be rejected during the moderation process.
Personalization: If you have multiple thumbnails, you can enable thumbnail personalization in the Creator Dashboard. This allows the Roblox algorithm to test different images and show the best-performing one to your audience, potentially increasing your qualified play-through rate.
FAQ
Can I make these thumbnails on mobile?
While the tutorials provided by the community focus on PC due to the availability of free camera mode and advanced editing software, you can attempt to follow similar workflows on mobile. However, the lack of a native free camera mode in the mobile client may make capturing specific angles more challenging.
What is the best file format for thumbnails?
Roblox supports .jpg, .gif, .png, .tga, and .bmp. PNG is generally recommended for its balance of quality and file size management. Ensure your final file is under 3 MB for smooth uploading.